- If you are the only person who will be using the software, you can skip this step entirely!
- You can use your ADMIN username to prepare all your tax returns.
- Only follow these steps if you have multiple preparers in your tax office.
Log in with your Admin username
Start by logging into the system using your "admin" username and password. This is the main account that has full access to manage users and settings.Go to Administrator Settings
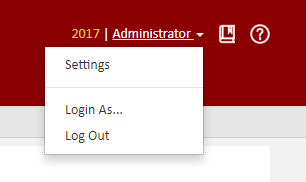
Look at the top-right corner of the screen. You'll see a dropdown that says "Administrator" - click on it, then select "Settings" from the menu.
Open Manage Users
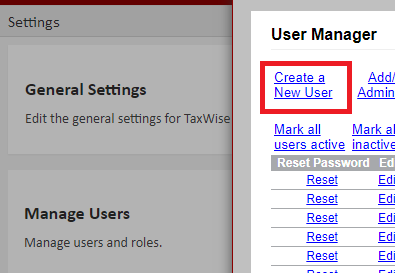
In the Settings menu on the left side, click on "Manage Users". Then click the "Create a New User" button to add a new preparer.
Fill in the User Information
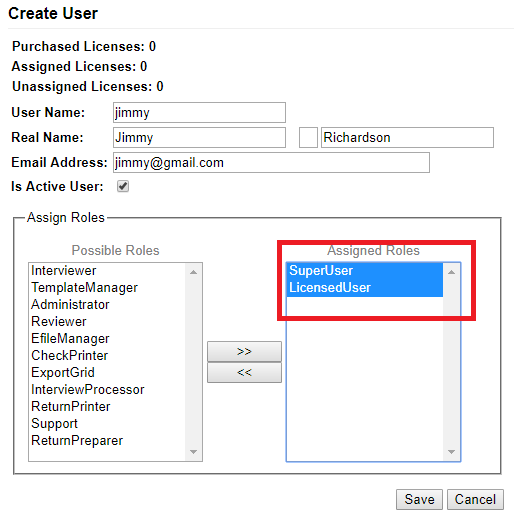
Enter the new user's details:- User Name: Create a username for this person (e.g., their first name or initials)
- Real Name: Enter their full name
- Email Address: Enter their email (they'll receive their password here)
- Is Active User: Make sure this box is checked
IMPORTANT: Assign the Correct Roles
On the right side of the form, you'll see two boxes: "Possible Roles" and "Assigned Roles".
For most tax preparers, you need to assign these TWO roles:- Select "SuperUser" from the left box and click the >> button to move it to the right
- Select "LicensedUser" and click >> to move it to the right as well
What do the different roles mean?Common Problem: If a user gets the error "You are not an authorized user" when trying to log in, it means they were NOT assigned the LicensedUser role. Go back and add it!
- SuperUser - Can create tax returns AND send e-files (most preparers need this)
- LicensedUser - REQUIRED! Without this role, the user cannot log in at all
- ReturnPreparer - Can only create returns, cannot e-file
- Interviewer - Can only use Interview Mode
- CheckPrinter - Can print checks
- Administrator - DO NOT assign this to preparers! It's only for the main admin account
Save and the User Gets Their Password
Once you click Save, the new user will receive an email with their temporary password. They can use this to log in and will be prompted to change it.
Tip: You can use the "Admin" username to prepare returns if you prefer (for tax years 2016 and newer). However, we recommend creating separate usernames for each preparer for better tracking and security.All Done! Move to the Next Step
Continue to Step 3 - Setting Tax Form Defaults