Were you using the Web Version last year?
Great news! You can quickly import all your settings from last year using the Setup Assistant:
- Go to your Dashboard (your home screen after logging in)
- Look for the Setup Assistant widget/button
- Click it and the Setup Assistant will automatically carry forward your templates and settings!
Alternative: You can also go to Administrator > Settings > General Settings > Carry Forward Defaults
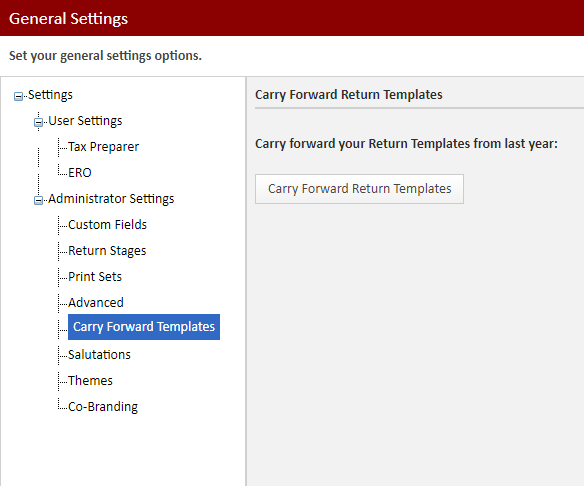
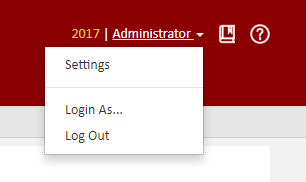
Log in as your Admin user
To set up your Tax Form Defaults, you'll need to be logged in with your "admin" username. Once logged in, click on Administrator in the top right corner, then select Settings.
Create or Edit Your Return Template
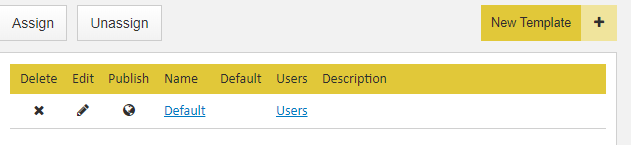
Go to the Settings option (as shown in Step 1). Click on Return Templates. Here you can either create a brand new template or edit an existing one.
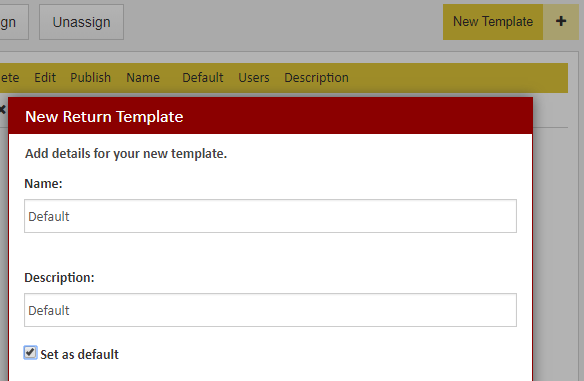
Tip: Keep it simple! For the "Name" field, just type Default. For the description, type Default again. Make sure to check the box for "Set as default" so this template is automatically used for new returns.Edit Your Template
After saving your new template, you'll see it listed on the screen. Click the Edit Icon (pencil icon) next to the template to make changes to it.
Customize Your Default Tax Return
Now you'll see a blank tax return. Important: Any changes you make here will automatically apply to every NEW return you create from now on!
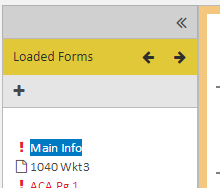
Recommended forms to add to your template:- Main Info
- 8879 (E-File Authorization)
- Price (Fee Worksheet)
*Tip about the Price sheet: You don't need to itemize every fee. You can simply set a flat rate for the 1040. This form won't cause any errors, and you can always adjust the price on individual returns later.
How to add forms: Click the (+) or Add Form button on the left side where the forms list is located.
Don't forget to Assign! After saving your changes, click the [Assign] button to assign this template to all the users who should use these settings.
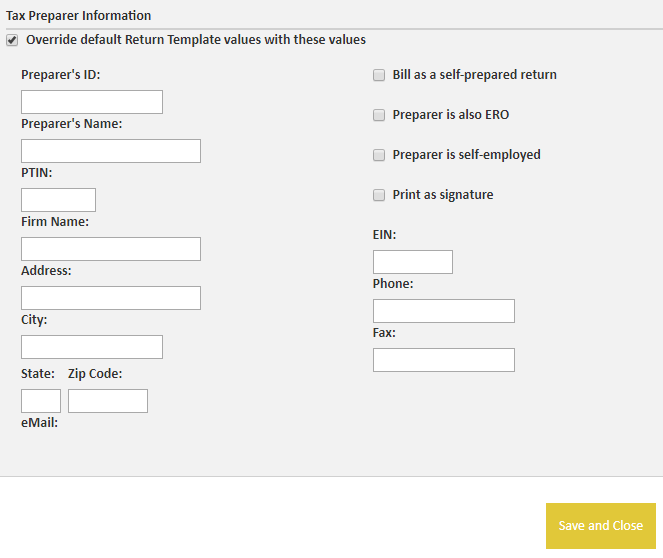
*Note for Tax Preparers: Each preparer needs to set up their own information (like PTIN). Log in with your own username, click Settings in the top right corner, then go to General Settings. For the "Preparer ID" field, we recommend using your initials.